How To Replace A Water Heater? Diy Home Project
Is your water heater on its last legs? Are you looking to take on a DIY project that will save you time and money? Replacing a water heater is no small task, but it can be done with the right tools, knowledge and skill. With the help of this article, you will have the confidence to tackle one of the most important home projects: replacing your water heater.
Replacing a water heater isn't just about being brave enough to take on a daunting task - it's also an opportunity to save some money and learn a valuable skill. By taking matters into your own hands and tackling this project yourself, you'll be able to watch your hard work pay off as you enjoy hot water again in no time.
In this article, we'll provide you with all the information you need to replace your water heater like a pro. We'll go over the materials needed for the job, give helpful tips and advice along the way and make sure that when you turn that tap on again, it's with a sense of pride and accomplishment. So let's get started!
1.Choosing A Water Heater
When it comes to replacing a water heater, there are many things to consider. For example, if you're looking to do a DIY home project, you'll need to select the right type of water heater for your needs. This can be a daunting task if you don't know where to start.
Take my friend Bill, for instance. He recently decided he wanted to replace his water heater himself, and after doing some research he found that tankless water heaters could save him money in the long run. After weighing up his options, he settled on getting a tankless one with a good warranty.
The next step is gathering the necessary tools and supplies for this project. You'll need items such as wrenches and screwdrivers as well as plumbing tape and other materials depending on your situation. With all of these components in place, you'll be ready to begin the replacement process - but make sure you know exactly what you're doing before starting!
2.Gathering The Necessary Tools And Supplies
Gathering the necessary tools and supplies for replacing your water heater is like packing for a trip. You want to make sure you have all the essentials, otherwise you'll be stuck in the middle of a project without the right resources. It's important to take inventory and double check what you need before you start.
You'll want to gather a few items including screwdrivers, adjustable wrenches, an old blanket or drop cloth to protect your floor, plumber's tape, a utility knife, and safety glasses in case of flying debris. Depending on the type of water heater you have, you may also need some additional tools such as an angle grinder or other specialized tools. Make sure you read the installation manual thoroughly so that you know exactly what type of tools are required.
Once you have gathered all the necessary supplies it's time to move onto the next stage - turning off the electricity and water supply. This is an important step that should never be skipped as it ensures your safety during this project.
3.Turning Off The Electricity And Water Supply
Now that we have all the necessary tools and supplies, it's time to move onto the next step - turning off the electricity and water supply. It's like a game of chess; if you make the wrong move, you could end up in checkmate. To ensure that your safety is not compromised, let's take this step-by-step. Here are four essential steps to turn off your electricity and water supply:
- Locate your main shutoff valve for your water heater.
- Shut off power to the circuit breaker for your water heater.
- Turn off the cold water supply valve located near the top of your tank.
- Open the hot water tap in a sink or bathtub until you no longer see any water running out of it.
It is crucial that each of these four steps is completed carefully and correctly in order to avoid any potential accidents or damage from occurring when working with wiring or plumbing systems. Taking these precautions will help ensure that everything runs smoothly throughout this DIY project. With all preparations made, we're ready to begin removing our old water heater - but more on that later!
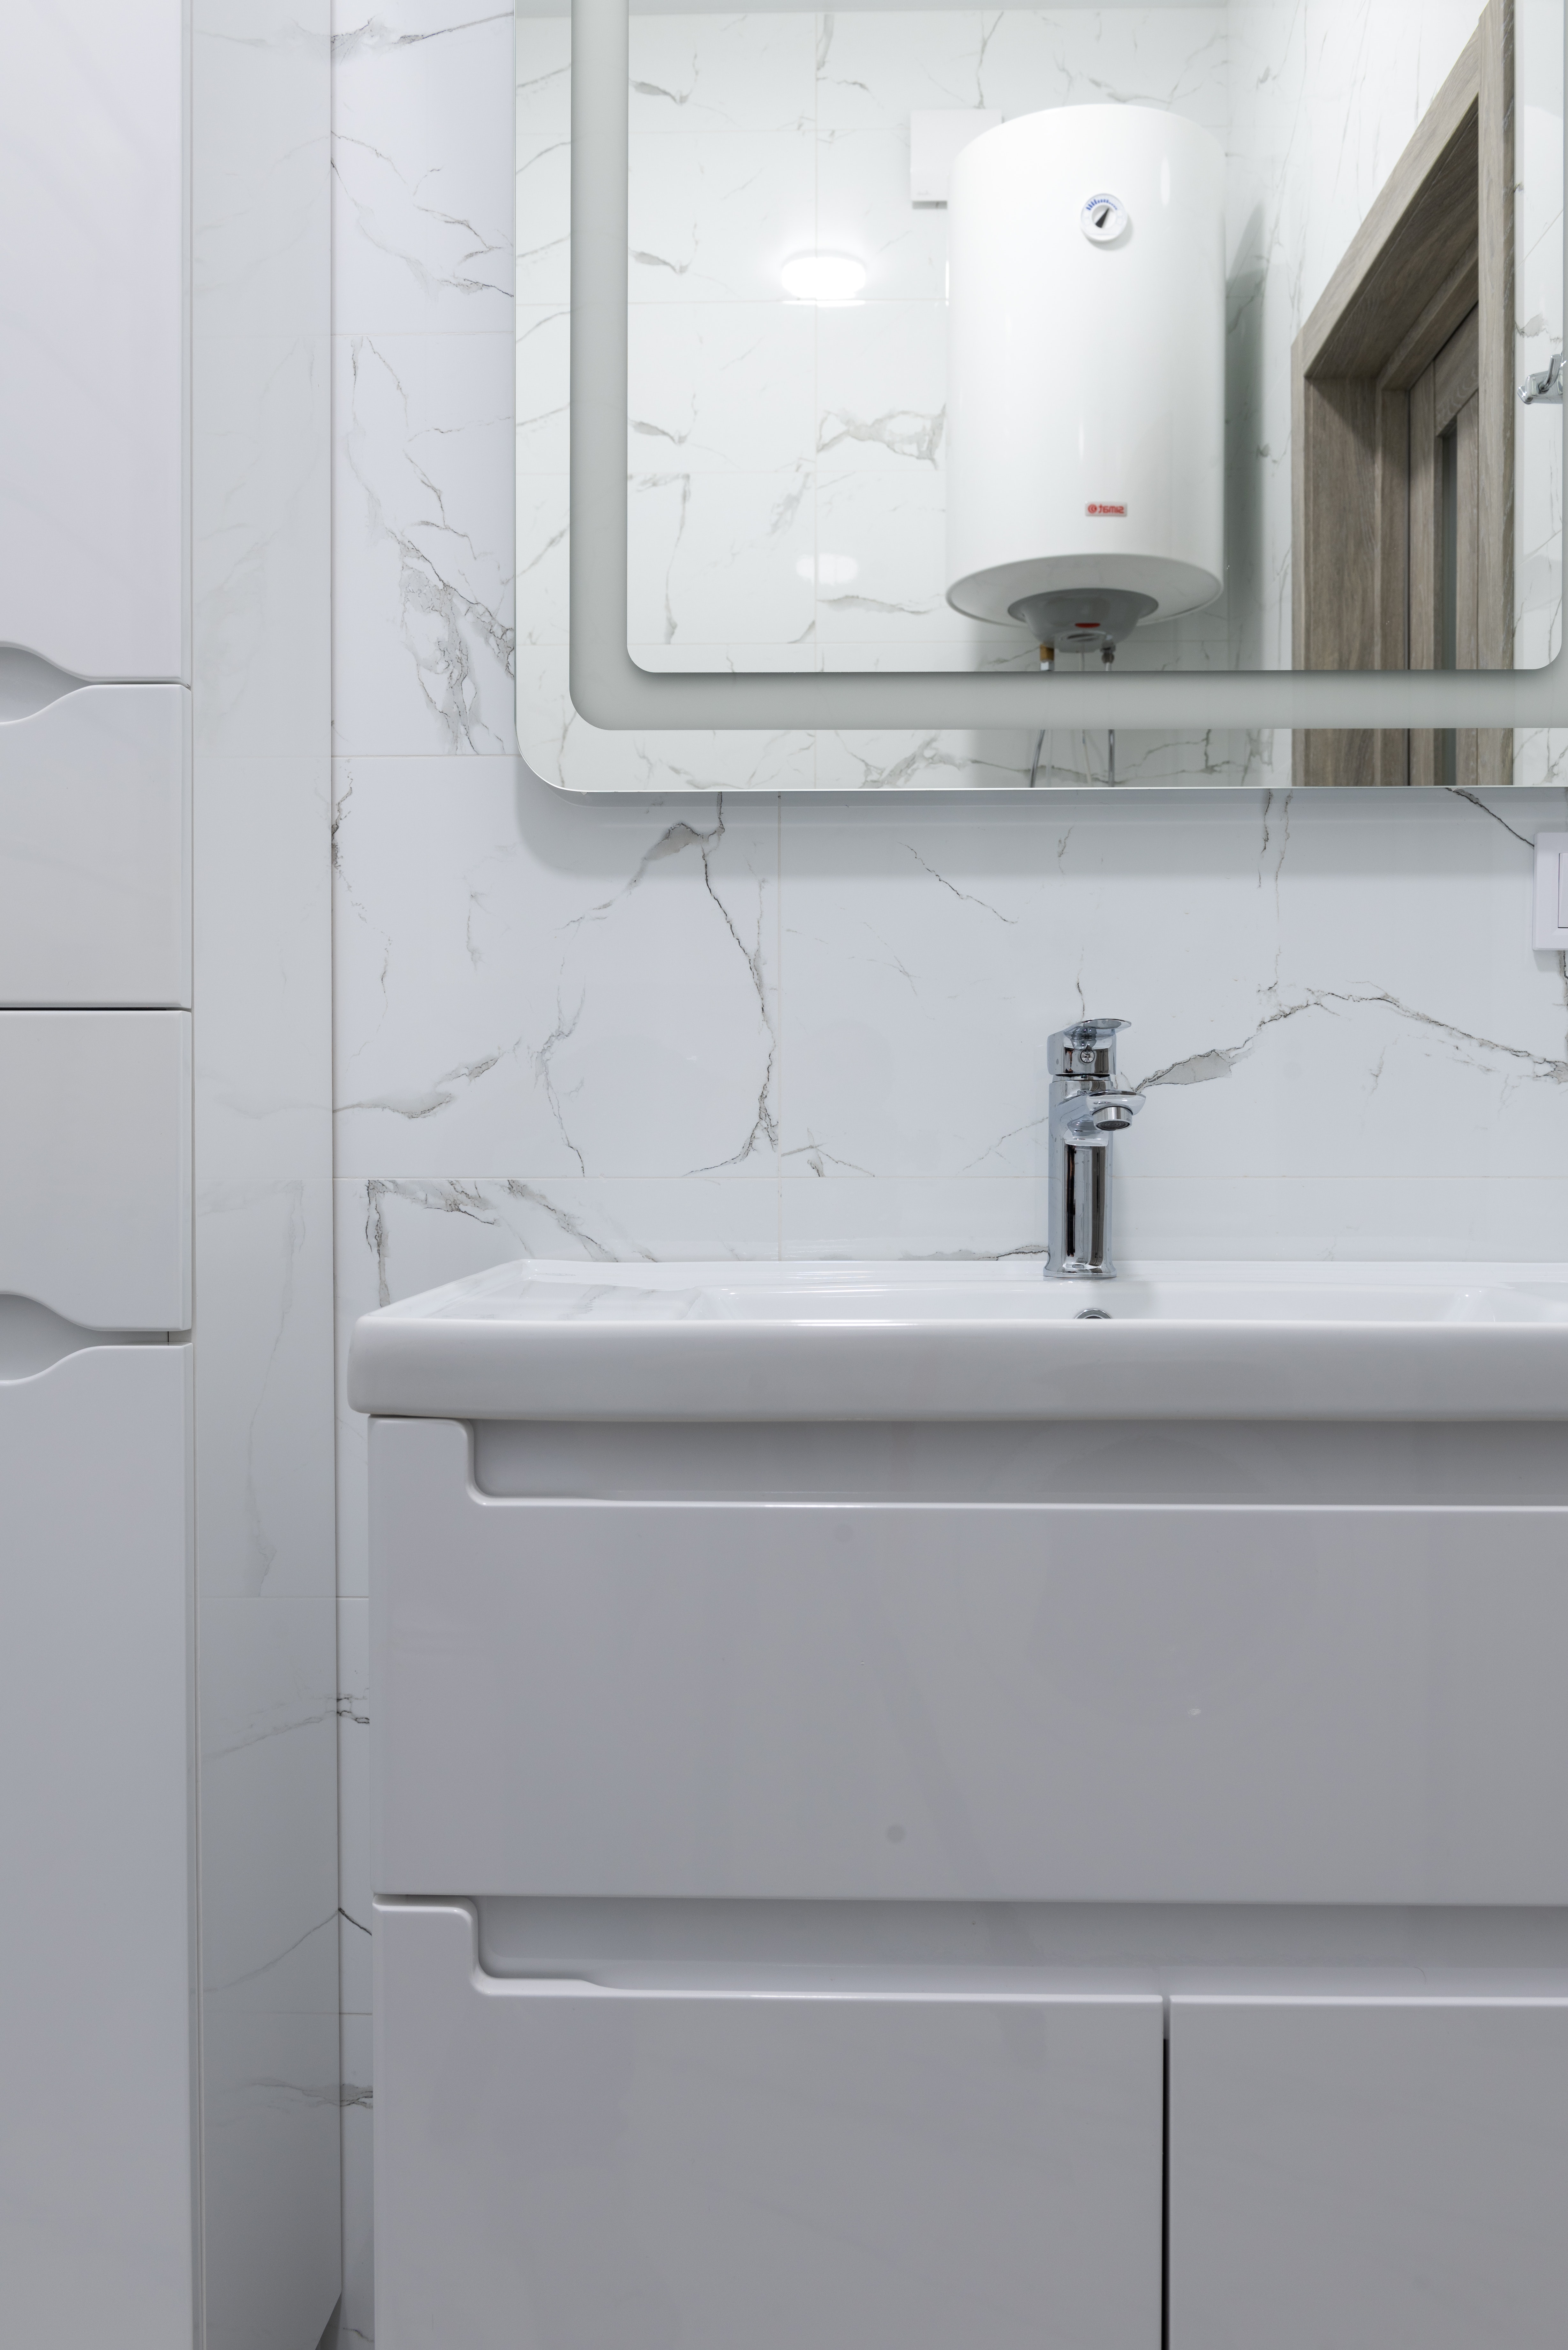
4.Removing The Old Water Heater
Next, I'm onto removing the old water heater. This requires turning off the gas and water supply to the appliance. It's important to make sure there is no electricity or gas running before attempting to disconnect any piping. Once the power and gas are turned off, it's time to start taking out the old water heater.
The first step is draining the hot water tank by connecting a garden hose to the drain valve located at the bottom of the tank. This can be done by unscrewing it with a wrench or pliers. Make sure you place a bucket underneath so that you can catch all of the hot water that comes out of it. After draining all of the hot water from the tank, it's time to detach any remaining pipes connected to it. This can be done using an adjustable wrench, being careful not to damage any of them while unscrewing them from their fittings.
Once all of these steps have been completed, you can lift and remove your old water heater with care. As you do this, take note of any wiring or pipes that might still be attached so that they can be reconnected when installing a new one. Now that the old unit has been removed, I'm ready for cleaning up the area and preparing for installation of my new water heater
5.Cleaning The Area
Now that the old water heater has been removed, it's time to clean the area. It's important to take the time to do this properly; a thorough job can prevent future problems and potential safety hazards.
I start by using a vacuum cleaner with an attachment to get rid of any dirt and debris that may have accumulated in the area. Then I use some paper towels to wipe down the walls and floor where the water heater was located. This ensures that no dust or dirt is left behind, and also helps me identify any potential leaks or other issues that might need attention before installing the new one.
Once everything is wiped down and cleaned up, I'm ready for the next step: installing the new water heater.
6.Installing The New Water Heater
Now that the area has been cleaned and all of the necessary parts have been gathered, it's time to install the new water heater. This is an important step in this DIY home project, as the proper installation of the new water heater will ensure that it functions properly.
I started by connecting the cold water supply line to the inlet connection on the side of the tank. After that, I connected the hot water outlet pipe to the top of my water heater. I then secured both connections with two adjustable wrenches. Next, I connected my new flex gas line to my gas valve and then secured it with a wrench. Finally, I wired up my thermostat system according to my manufacturer's instructions.
With everything securely connected, I was ready to move onto testing and adjusting my new water heater.
7.Testing And Adjusting The New Water Heater
Alright, you've got the new water heater installed - great job! Now it's time to make sure that it's working perfectly so that you can enjoy all the benefits of your hard work. Tinkering with a water heater is not something to take lightly, so let's take a few steps to test and adjust it safely. Here are a few quick reminders before we get started: • Check the manufacturer’s instructions. • Make sure the gas or electricity is off before adjusting. • Wear protective equipment such as goggles and gloves when dealing with hot water heaters. • Do not attempt any adjustments until you are certain of what you're doing. • Keep an eye out for any signs of gas leaks or unusual odors during testing and adjustment. Now, let’s move forward and make sure everything works properly. Let’s start by checking the pressure relief valve and ensuring that it is discharging correctly. If not, we’ll need to adjust it according to the manufacturer's recommendations and directions in order to maintain proper safety levels for your unit. Then, double check that all connections are secure, including those on the valves or pipes that connect to your cold water supply line, as well as other components like your thermostat or temperature/pressure relief valve. After making sure everything is connected securely, test your new water heater by running both hot and cold taps in order to ensure they're providing sufficient pressure and temperature levels as per your preference – if not, make adjustments accordingly with the help of a professional if needed! That should do it! You have now successfully tested and adjusted your new water heater – excellent job! Now let's move on to caring for this valuable home appliance...
8.Caring For Your New Water Heater
Now that you’ve gone through the steps to replace your water heater, it’s just as important to make sure you’re taking care of it. Caring for your new water heater can help you keep it running efficiently and safely.
To get started, it’s essential to inspect the unit both inside and out. Check for any signs of wear or damage and make sure all connections are secure. If you notice anything out of the ordinary, contact an experienced technician for assistance.
In addition, it's a good idea to flush your water heater on a regular basis. This will help remove any built-up sediment that could affect its performance over time. Make sure to follow manufacturer’s instructions when flushing and do not skip this step.
It's also important to check the pressure relief valve periodically - typically every few months - to ensure it is functioning properly. Additionally, testing the temperature and pressure relief valve annually is recommended in order to protect against potential problems with extreme temperatures or pressure levels in the tank.
By taking these simple preventive measures, you can help extend the life of your new water heater and keep it running smoothly for years to come!
Conclusion
In conclusion, replacing a water heater can be an intimidating project for any homeowner. It is important to take the time to research what type of water heater will best suit your needs and budget, as well as make sure you have all the necessary tools and supplies on hand before getting started. Taking the time to do this will ensure that the process goes as smoothly as possible and that you have a new water heater that works efficiently for years to come.
Replacing a water heater is like any other DIY home project; it requires patience and determination. With the right knowledge and preparation, this task can be completed successfully in relatively little time. Once the new water heater is installed, you can enjoy a hot shower or take comfort in knowing your home has hot running water again - like a breath of fresh air!
Overall, replacing a water heater may seem daunting at first, but with some research and preparation it can be an easy project for anyone with basic handyman skills. In no time at all you’ll have a brand-new appliance that will last you many years without worry or hassle - giving you one less thing to worry about when it comes to taking care of your home.
via Kellys Home Plumbing Tips kellymonderhomeplumbing.blo...